Installation Instructions
Follow these steps for a clean, professional application of Gun Glow to your sights.

Step 1
Plan Your Application
- Decide whether you're applying dot sights, painting the entire rear sight, or creating a "U" shaped rear sight pattern
- You can apply without tape and adjust as it sets — tape provides a cleaner, more professional finish

Step 2
Stir the Paint
- Remove the cap and stir the paint thoroughly using the included stir stick
- Ensure the glow pigment is equally distributed throughout the paint before applying

Step 3
Gather Your Materials
- Gun Glow paint
- Paper towel
- Small skewer, toothpick, or stiff art brush for application
- Vice grip or similar holding tool
- Latex gloves (optional) — note that paint will stain clothing
Step 4
Clean Your Sights
- Wipe down your gun sights with a paper towel and rubbing alcohol
- Remove all oil and soot — a clean surface ensures better adhesion
- Using a skewer, toothpick, nail, or drill bit; remove any loose paint on your sights — particularly if you have recessed sights

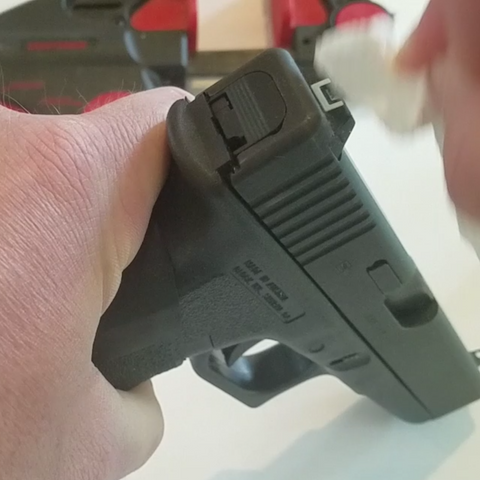
Step 5
Apply the Paint
- Apply using the included paint stick, a wooden skewer, toothpick, or stiff brush
- Work patiently — any excess can be wiped away while wet
- Ensure recessed sights are filled with paint during installation
- The paint is intentionally thick to support the large glow-in-the-dark pigment
- One coat is all you need for a bright, lasting glow

Step 6
Seal the Bottle
- Wipe the rim of the bottle clean before sealing
- Use the included plastic cork for long-term storage to prevent the paint from drying out

Step 7
Dry & Cure
- Paint is dry to the touch in approximately 30 minutes
- Allow 48 hours for a full cure before heavy use
- Optional: apply a coat of clear nail polish or super glue over the paint for added durability
Step 8
Store Properly
- Store in a cool location with a stable temperature
- Keep away from direct sunlight to preserve the paint